
Weapons
Explore all weapons in Da Hood.
Introduction
Weapons in Da Hood are bought, looted, lost and replaced, which makes the economy around them as important as the stats on paper. A pistol you can afford to lose twice is often a better investment than a rifle that costs you a full session of grinding, and the cheapest weapons in the game still hit hard enough to win a fight if you understand range and timing. This section covers the full ladder: what each weapon class is actually good at, where to buy or find it, how damage and reload timing interact with the combat system, and how the skin and trade economy sits on top of the functional one. It also explains the loadout logic that keeps a player dangerous without turning every death into a financial catastrophe.
Weapon Classes by Range
| Class | Best Range | Where To Buy |
|---|---|---|
| Pistols & Revolvers | Close to mid | Gun stores, loot drops |
| Shotguns | Point blank | Gun stores, crates |
| SMG & AR | Mid range | Gun stores, drops |
| Melee & Throwables | Contact | Shops, crates, events |
Weapon Categories
Pistols & Revolvers
Cheap, reliable, always available
Shotguns
The close-range meta pick
SMG & Assault Rifles
The mid-range all-rounder
Melee & Throwables
The zero-ammo fallback
Core Mechanics
Da Hood's damage model is built around range bands and reload windows rather than raw numbers. Each weapon class has a distance where it performs, and stepping outside that band drops its effective damage sharply, which is why a shotgun loses to a pistol across a street and a revolver loses to a shotgun in a stairwell. Ammo and reload timing form the second layer: magazines are finite, restocking happens at shops rather than in the field, and every reload is a window an opponent can punish. That combination makes weapon choice situational rather than hierarchical. A cheap weapon used inside its range band beats an expensive one used outside it, and the players who win consistently are the ones who pick fights that suit the gun they are carrying instead of forcing every engagement into the same shape. Skins and trading sit on top of this as a parallel economy: cosmetic variants carry no combat benefit but hold real trade value, so a lucky drop can be converted into functional gear.
Advantages
Weapons are the most direct way to convert cash into combat power, and the ladder is deliberately wide enough that every budget has a viable option. A player with almost no money can still buy a pistol or find a melee weapon, which means the gap between a new player and a veteran is narrower than it first appears: understanding range and reload timing closes most of the difference. Buying weapons is also reversible in a way that other investments are not, because guns can be resold and skins traded, so a purchase that turns out to be wrong is not a permanent loss. Finally, the weapon economy rewards specialisation. A player who masters one class and builds a loadout around its range band will outperform a player who spreads cash across several guns they never fully learn.
Challenges
Every weapon is lost on death, which turns a good loadout into a liability the moment you start taking fights you cannot win. Carrying an expensive rifle into a contested district is effectively a donation to whoever kills you, and the compounding effect is severe: die twice with a full kit and you have funded two enemies while rebuilding nothing. Ammo adds a second cost that players underestimate, because restocking happens at shops and a long fight away from a gun store leaves you holding an empty weapon. The class system also punishes versatility: a loadout built for close quarters is genuinely bad in the open, so every purchase is a bet about where your next fight will happen. Finally, patch changes shift the meta, and a weapon that dominates one season can be adjusted down the next.
Frequently Asked Questions
What is the best weapon in Da Hood?+
How do I stop losing my guns in Da Hood?+
Where do I buy weapons and ammo in Da Hood?+
Quick Tips
Match the weapon to the district, not to the tier list. A shotgun in a bank interior is worth more than a rifle, and a rifle on an open street is worth more than a shotgun, so the same purchase can be either brilliant or wasted depending on where you spend your session. Decide where you are going before you decide what to buy, and your cash will go roughly twice as far.
Reload behind cover, never in the open. The reload animation is long enough that an attentive opponent will punish it every time, and running dry in the middle of a street is the most predictable way to die in Da Hood. Break line of sight first, then reload, then re-engage on your own terms rather than the moment your magazine happens to empty.
Keep a cheap secondary for the walk home. Most players lose their expensive weapon because they died while carrying it somewhere they did not need it. A pistol or a melee weapon costs almost nothing, weighs nothing tactically, and means that a death during a cash run does not set your progression back by an entire session.
Learn one class properly before buying a second. Spreading cash across a pistol, a shotgun and a rifle produces a player who is mediocre with all three, while mastering one class builds the timing and range instincts that transfer to everything else. Pick the class that matches your usual fights, run it exclusively for a week, and only then consider expanding.
Featured
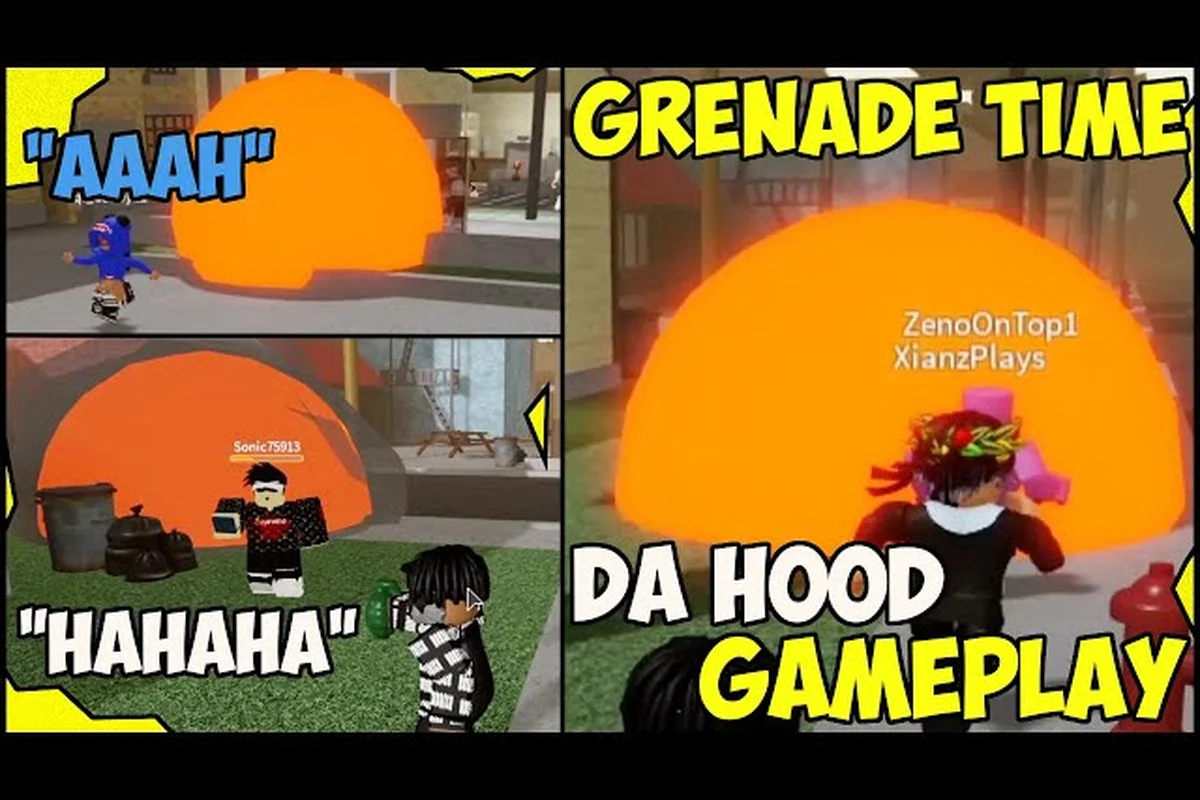
Da Hood Grenade: Flashbang, Knife, Bat, Pitchfork & Sniper
Master every Da Hood grenade, flashbang, knife, bat, pitchfork, and sniper pick — learn damage, range, and the right moment to throw or swing.
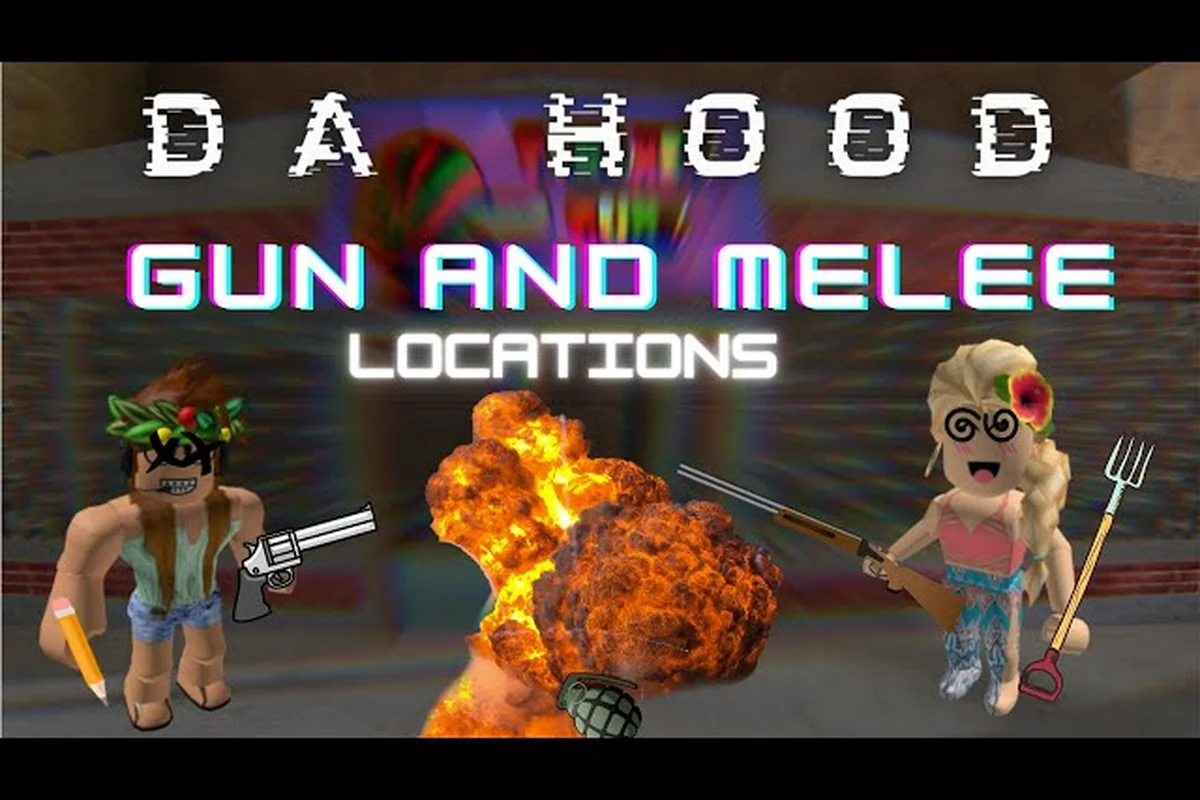
Da Hood Weapons Guide: Tier List, Shotguns & Melee Picks
Break down every Da Hood weapons guide pick — compare the double barrel, tactical shotgun, silenced pistol, and top melee options by power and use.
Da Hood Weapon Damage: Cheapest to Most OP Picks
Compare Da Hood weapon damage across every gun — see which cheap weapons still hit hard, which is the most OP pick, and how to save your loadout.
All Articles
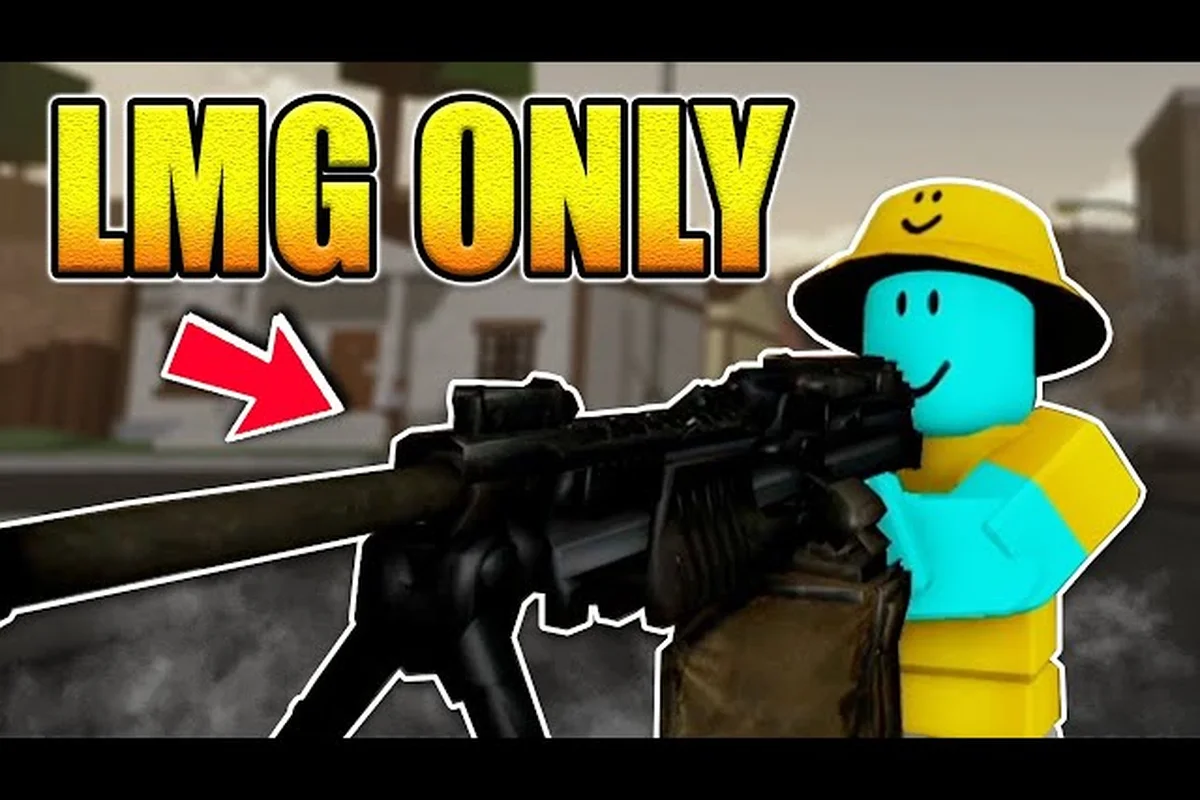
Da Hood LMG: SMG, AR, AK47, Flamethrower & RPG Loadouts
Break down the Da Hood LMG alongside the SMG, AR, AK47, flamethrower, and RPG — see which heavy weapon fits your playstyle and map.
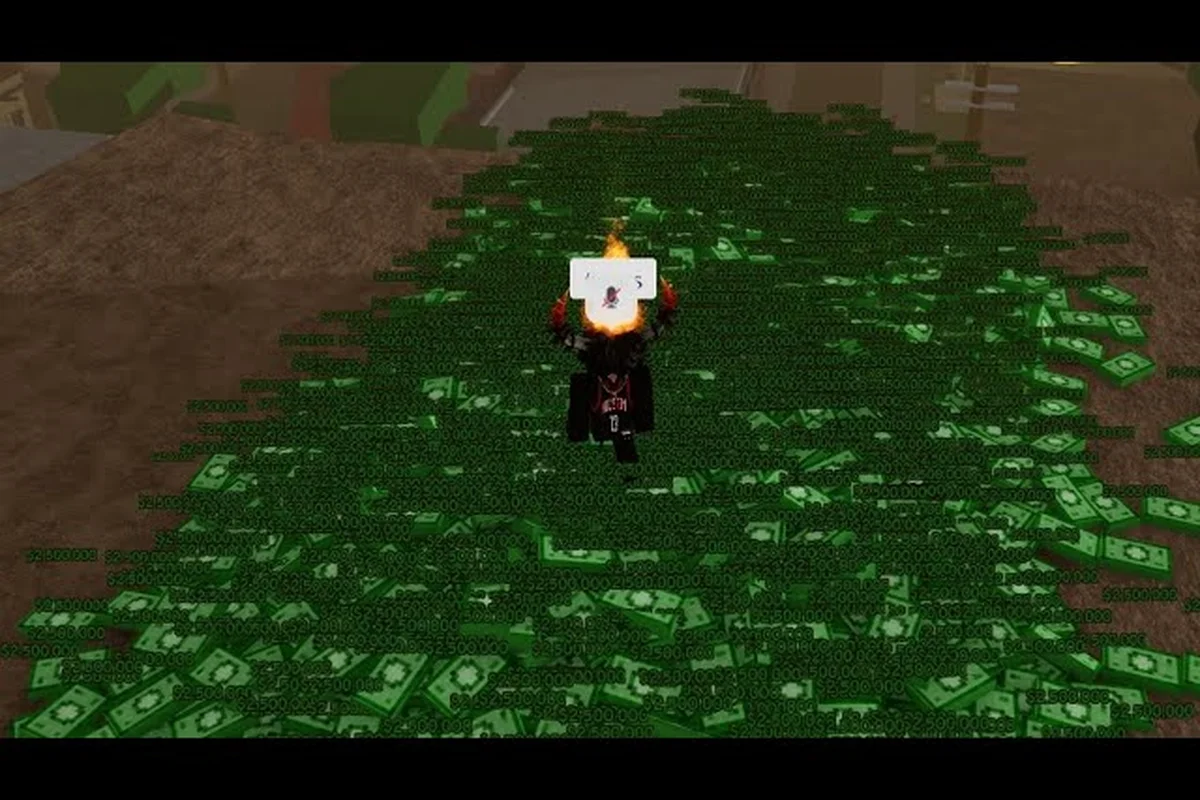
Da Hood Weapon Drop: Mobile vs PC Picks, Skins & Revolvers
Unlock every Da Hood weapon drop, compare mobile and PC aiming picks, and chase hidden weapons, skins, and revolver secrets most players miss.
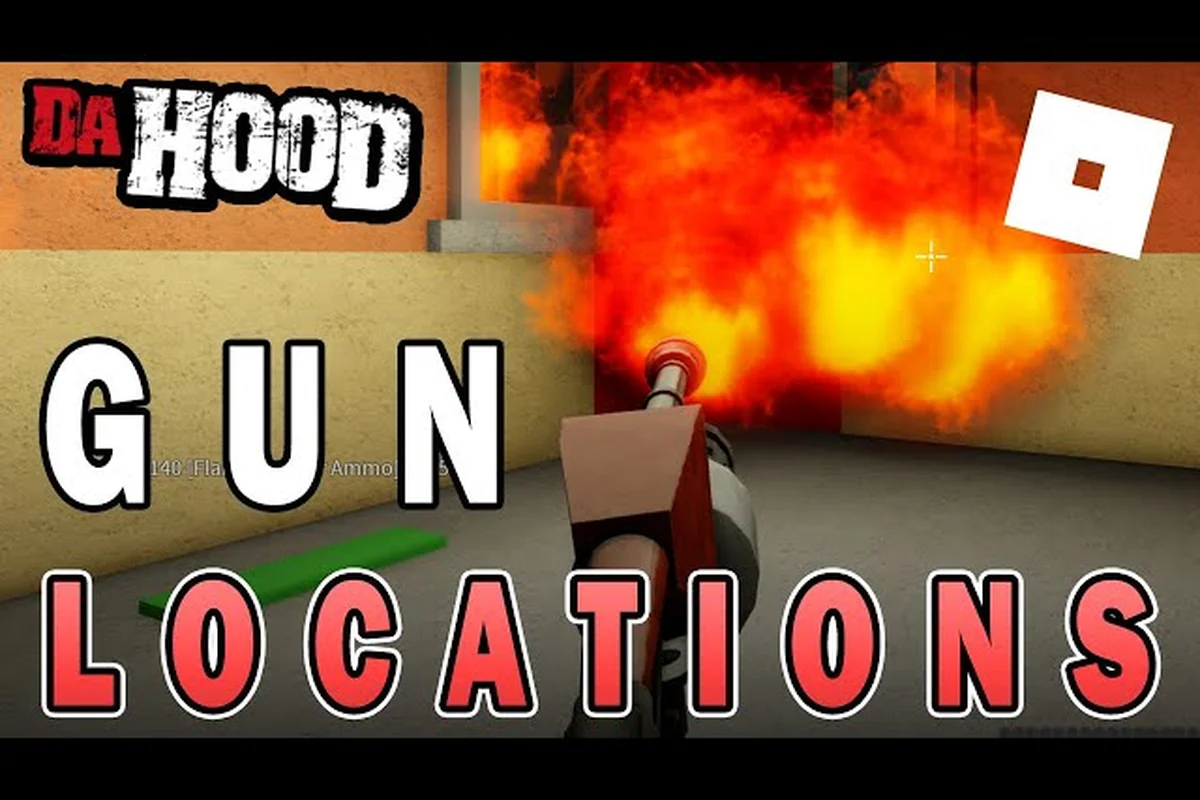
Da Hood Weapon Locations: Gun Stores, Ammo & Reload Routes
Find every Da Hood weapon location across the map, learn where to buy guns, restock ammo, and reload mid-fight without losing tempo.