
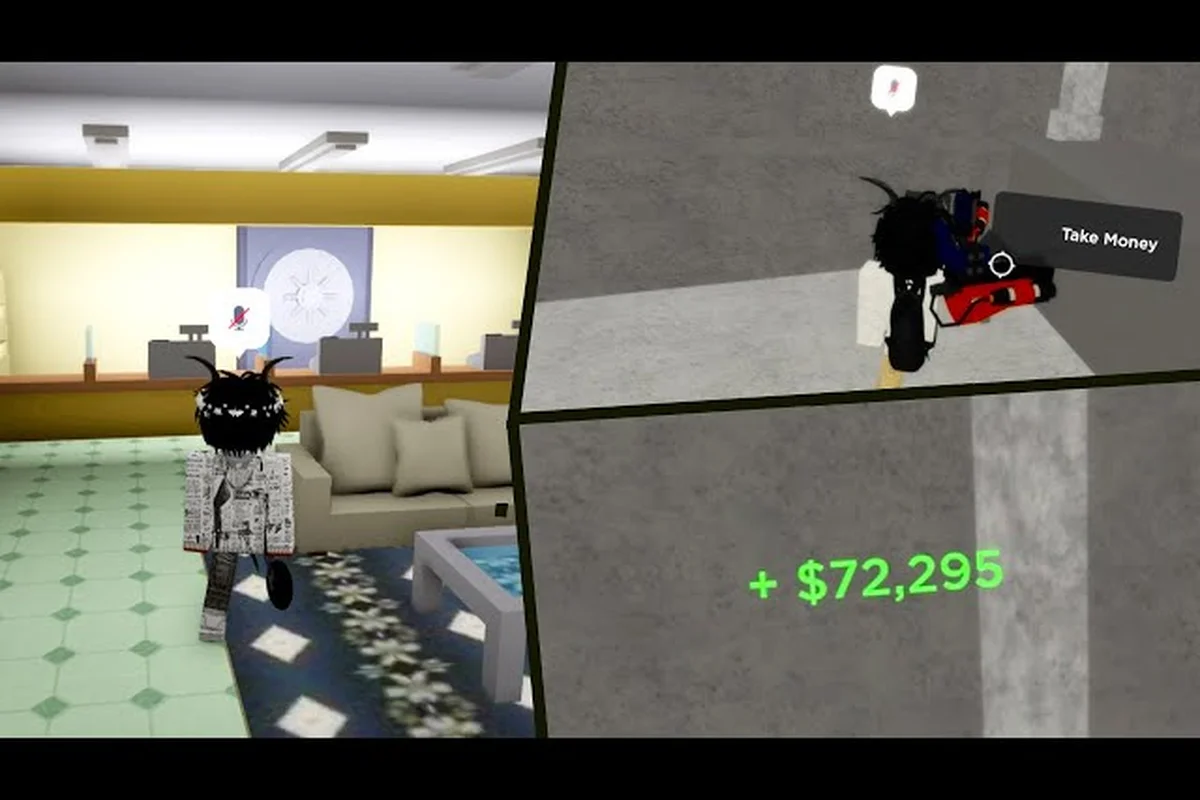
Becoming a true Da Hood criminal mastermind takes more than pulling a gun on a corner store clerk. The real ceiling of the criminal ladder lives in coordinated bank jobs, timed safe cracking, and the constant pressure of an arriving SWAT team. Players who treat the role like a heist simulator — pre-checking timers, picking the right tools, and reading the map before the alarms go off — pull in payouts that dwarf standard stickups.
This guide breaks down how to plan a heist from entry to escape, manage the robbery timer without wasting a second, choose between safe cracking and brute-force entry, and counter the SWAT wave that almost always follows a major score. It also covers the military role in detail, because that career path shares more overlap with high-tier criminal work than most players realize.
Planning a Heist Like a Mastermind
Heists in Da Hood are split into three broad categories: small-store stickups, mid-tier bank runs, and large-scale vault operations. The criminal mastermind role treats each tier differently. A small store only demands a pocket timer and a fast exit, while a vault run needs a full squad, a pre-scouted escape route, and someone watching the SWAT timer on the minimap.
The biggest mistake new players make is treating a heist like a normal robbery. The robbery timer starts the moment a tool touches the target, and every failed attempt resets the progress bar. If you cancel mid-crack, you lose the consumable and start over. Community testing across multiple servers suggests the average bank job takes between four and seven minutes from start to finish, depending on squad size and tool tier.
| Heist Tier | Suggested Squad | Best Entry Tool | Average Timer | Risk Level |
|---|---|---|---|---|
| Corner Store | 1–2 | Lockpick | 45–60 sec | Low |
| ATM Cluster | 1 | Brute Key | 30–45 sec | Low–Medium |
| Bank Vault | 3–5 | Safe Drill | 4–7 min | High |
| Cargo Truck | 2–3 | Bolt Cutter | 2–3 min | Medium–High |
| Police Station | 4–6 | Master Cracker | 6–9 min | Very High |
Before any job, check the Server Heat stat in the corner of the screen. High heat means a SWAT team is already pre-staged, and walking into a vault with a 90% heat bar is the fastest way to lose your gear. According to community data reported by players on the official Da Hood on Roblox page, heat decays at roughly 10% every two minutes when you stay away from police hotspots.
Pre-Heist Checklist
Walk through this pre-heist checklist every time, no matter how familiar the target feels: a bank you have hit twice still spawns a fresh SWAT team and a new robbery timer the moment you cross the threshold, so treating repetition as safety is how a criminal mastermind turns a clean payout into a respawn screen.
-
Scout the perimeter for at least 30 seconds before stepping inside
-
Assign a watch role to one squadmate who stays near the door
-
Confirm the robbery timer on your in-game HUD before pulling a tool
-
Place a getaway vehicle within 50 meters of the exit
-
Note the nearest safe zone in case SWAT spawns faster than expected
The mastermind mindset treats these five steps as non-negotiable because each one neutralizes a specific failure path baked into Da Hood's robbery engine: skipping the perimeter scout forfeits the 30-second window that reveals the SWAT team's spawn lane, ignoring the watch role leaves your squad exposed the moment a second police wave teleports in, and pulling a tool before confirming the robbery timer means the safe-cracking minigame resets your progress to zero. Place the getaway vehicle inside the 50-meter radius, memorize the nearest safe zone for a military-role bailout, and only then does the heist convert raw firepower into a bankable payout instead of a respawn screen.
Da Hood Heist Guide: Tools, Roles, and Timing
A solid heist guide always starts with tools. Every job in Da Hood is gated behind a specific tool type, and the wrong tool wastes both time and cash. Brute-force entry works on ATMs and small stores, but the bank vault flat-out refuses anything weaker than a Safe Drill. Master Crackers are reserved for police station raids and the rare casino job.
| Tool | Best Target | Crack Time | Durability | Cost Tier |
|---|---|---|---|---|
| Lockpick | Corner Store, register | 45 sec | 1 use | Cheap |
| Brute Key | ATM, gas station safe | 30 sec | 1 use | Cheap |
| Bolt Cutter | Jewelry store, truck cargo | 90 sec | 1 use | Medium |
| Safe Drill | Bank vault, museum case | 4–7 min | 3 uses | Expensive |
| Master Cracker | Police station, casino | 6–9 min | 2 uses | Very Expensive |
Squad composition matters just as much as gear. A balanced four-person crew typically runs one Crowd Controller with a shotgun to lock the door, one Cracker on the safe, one Lookout watching the minimap, and one Driver keeping the engine warm outside. The criminal mastermind usually takes the Lookout role because it offers the cleanest view of the SWAT timer and incoming patrols.
Role Breakdown Inside a Heist
Each role inside a Da Hood heist runs on a small, repeatable checklist that the crew leader usually pins in the Discord before the robbery timer even starts ticking, because every heist sequence in Da Hood is gated by a strict cooldown and a SWAT team spawn wave that punishes sloppy positioning; sticking to that pre-agreed checklist is what separates a real Da Hood criminal mastermind from a chaotic crew, since a single missed step like a Driver letting the engine die or a Cracker looking away from the safe mid-progress can wipe the entire payout before the military role even rolls in.
-
Crowd Controller — block the entry, hold chokepoints, and disarm anyone who rushes in
-
Cracker — focus on the safe only; never break line of sight with the progress bar
-
Lookout — track the SWAT spawn cooldown, call out bounty hunters, and ping vehicles
-
Driver — keep the engine running and the trunk open, because loot only fits in a parked car
Rotate roles after every successful heist, because the Da Hood robbery timer and SWAT spawn patterns are public information that experienced players log and exploit; a Cracker who stays in the same slot for three or four consecutive jobs is effectively broadcasting their safe-cracking timing to bounty hunters, which is why veteran Da Hood criminal masterminds cycle through Lookout, Driver, and Crowd Controller rotations to keep their crew's rhythm unpredictable and protect the full payout.
Da Hood Robbery Timer and Safe Cracking
The robbery timer is the heartbeat of every job. It starts the instant your tool connects with the target and freezes the moment you cancel or complete the action. Community testing suggests the timer scales slightly with tool quality, but the real variance comes from server load. A laggy server can stretch a 45-second corner store crack into 70 seconds of staring at a frozen progress bar.
| Stage | Action | Timer Behavior |
|---|---|---|
| Approach | Walk within 5 meters of target | Idle, no timer |
| Engage | Pull tool and start animation | Timer starts |
| Crack | Hold progress bar steady | Counts up in real time |
| Cancel | Stop animation voluntarily | Timer resets, tool lost |
| Complete | Crack finishes | Timer freezes, payout triggers |
| Escape | Reach getaway vehicle | Timer ends |
Safe cracking has its own mini-timer layered on top. A vault safe requires a short puzzle sequence after the drill finishes, and the puzzle resets if any squadmate enters the wrong code. Masterminds memorize the pattern from the previous run and call it out over voice chat so nobody wastes a turn. According to player reports on community threads, the puzzle pattern rotates every server reset, so writing the code down between jobs does not work.
Reading the Heat Bar
The heat bar fills as you commit crimes and empties as you stay clean. Crossing 70% triggers an automatic SWAT response, and crossing 90% unlocks the military role callback for nearby squads. Treat the heat bar like a second robbery timer — every second above 60% is a second closer to a raid.
-
0–30% heat — small jobs only, SWAT will not spawn
-
30–60% heat — mid-tier jobs safe, but expect bounty hunters
-
60–80% heat — high-tier jobs trigger SWAT within 90 seconds
-
80–100% heat — military squad spawns on top of SWAT
The criminal mastermind watches this bar like a hawk, so cooling it demands intentional downtime, not just standing still. Drop heat by going passive for two to three minutes between jobs — running legal side hustles at the Gun Store or simply walking through low-crime districts (Zones 1-2) bleeds roughly 4-6% per minute when no NPC witnesses a crime. The faster alternative is ducking into a safe zone with no police line of sight, such as the School interior, Hospital lobby, or any apartment with a locked door; crossing that threshold instantly freezes decay for 15 seconds, buying a window to reposition before the SWAT role timer resumes its countdown.
Da Hood SWAT Team Counters and the Military Role
The SWAT team is the single biggest reason a heist fails. They spawn with body armor, automatic rifles, and the ability to breach locked doors. The counter is not to outgun them — that almost never works — but to outposition them. The standard SWAT response time is 90 seconds after a major alarm, which gives a prepared crew enough time to finish a vault crack and escape through a side exit.
| Threat | Spawn Trigger | Armor | Weapon | Counter Strategy |
|---|---|---|---|---|
| Bounty Hunter | Any crime on your bounty | Light | Revolver | Run through safe zones |
| Patrol Officer | 30% heat | Light | Taser | Disarm and flee |
| SWAT Team | 70% heat + vault alarm | Heavy | Auto rifle | Exit through roof or tunnel |
| Military Squad | 90% heat + police call | Very Heavy | Assault rifle | Use vehicle escape, never fight |
The military role is a paid upgrade that unlocks a heavy combat kit and a faster spawn near police stations. It is the only role that can legally stand between a criminal crew and a respawn wave. Many masterminds recruit a military ally before a vault run because the role's damage output forces SWAT to fall back into cover. Players can read more about unlocking the role in the role requirements breakdown on this site, which covers tier lists and unlock paths in detail.
Fighting Back Against SWAT
When escape is not an option, the fight has its own rules: the SWAT team spawns with military-tier body armor and a coordinated revive chain that can stall a vault crack well past the 30-second robbery timer, so a Da Hood criminal mastermind has to flip the engagement into a chokepoint defense rather than a straight gunfight. Pushing into the open bank floor almost always hands SWAT the respawn advantage, while funneling them down the back stairwell or the side office doorway neutralizes their flashbang spam and lets a Cracker finish the safe. Treat the SWAT wave like a raid boss phase: tank the first push on the teller counter, let the military role overextend, then collapse with leg shots once their formation breaks.
-
Peek corners instead of holding a door, because SWAT flashes through entryways
-
Aim for legs — body armor absorbs chest shots but the leg hitbox is exposed
-
Drop a flashbang before reviving a squadmate, not after
-
Save one pistol mag for the final escape; running dry inside the vault is a death sentence
When a squad breaks formation mid-crack — say, the Cracker is still at the safe with 12 seconds left on the robbery timer and the rest push toward the lobby — SWAT's coordinated revive chain re-tanks the floor in under four seconds, since two military players stacked on a body trigger the fast-revive passive. Lock the Cracker inside the back office doorway, post one anchor on the staircase, and only let the anchor trade revives when the SWAT wave commits a flashbang — burning their utility without contesting the safe reset.
Building a Mastermind Routine
The difference between a casual criminal and a criminal mastermind is repetition. Top earners in Da Hood run the same loop for hours: pre-check heat, hit one mid-tier target, drop heat, hit one high-tier target, then bank the haul. This loop rewards players who can stay calm during a SWAT raid and reset cleanly after a failed crack.
| Step | Action | Time Budget |
|---|---|---|
| 1 | Find low-pop server | 2 min |
| 2 | Scout bank entrance | 1 min |
| 3 | Wait for heat to drop below 30% | 2–3 min |
| 4 | Pull Safe Drill on vault | 5 min |
| 5 | Escape through back alley | 1 min |
| 6 | Bank cash and reset | 2 min |
Total loop time sits around 13–15 minutes per clean payout, which works out to several hundred thousand in-game dollars per hour for a coordinated crew. New players can still hit decent numbers by sticking to mid-tier targets and skipping the vault entirely, but the ceiling rises sharply once the squad learns to read the SWAT timer. The criminal guide on this site also covers basic robbery steps, like robbing ATMs and registers, for players who are still building toward vault runs.
Common Mistakes to Avoid
A few patterns show up in every failed heist, and they almost always trace back to the robbery timer and safe cracking mini-game being mismanaged. Players rushing into the vault before the crew has cleared cameras, or starting a thermal crack while the SWAT team is still spawning on the next block, burn through the 8–10 minute window before any loot is secured. Veteran crews run a 60-second pre-heist checklist — bag, blowtorch, battery, escape route — and treat every step as non-negotiable; the military role patrol routes are the single biggest reason groups wipe in the first two minutes, so timing the approach to their rotation matters more than raw firepower.
-
Starting a vault crack with heat above 60% — guarantees a SWAT interrupt
-
Driving the getaway car into a police spawn — turns a clean exit into a chase
-
Hoarding tools in a public spot — another player will pick them up
-
Ignoring the robbery timer after a cancel — the second attempt always takes longer
-
Fighting the military squad head-on — they respawn faster than you can reload
After two or three clean heists where the 60-second pre-heist checklist is followed and the military role rotation is respected, the robbery timer no longer feels like a countdown working against you — it becomes a predictable framework you orchestrate around. Mastermind rank is essentially the point where safe cracking, SWAT spawns, and getaway routing click into muscle memory, and the grind disappears because every crew member already knows their cue without a callout.
Frequently Asked Questions
What is the fastest way to become a Da Hood criminal mastermind?
Focus on bank vault runs with a four-person crew, because the payout-per-minute is the highest in the game. Spend your first hour learning the safe cracking puzzle and reading the heat bar, then move up to police station jobs once your average survival time passes three minutes per raid.
How long does the Da Hood robbery timer last on a bank vault?
The bank vault robbery timer runs between four and seven minutes, depending on tool tier and server load. A Safe Drill finishes the bar in roughly five minutes on a clean server, while lag can push the same crack to seven minutes or longer.
Can I solo a bank vault as a Da Hood criminal mastermind?
Soloing a vault is technically possible but rarely worth the risk. Without a Lookout, you cannot read the SWAT timer while cracking, and the escape becomes a coin flip. Bring at least one squadmate for any vault above medium difficulty.
How do I counter the Da Hood SWAT team without dying?
Exit through a side door or roof hatch the moment the SWAT breach sound plays, and never trade shots inside a tight room. SWAT armor absorbs most body shots, so aim for legs and keep moving until you reach a safe zone with no police line of sight.
Does the Da Hood military role help criminals during heists?
Yes, because military players deal enough damage to force SWAT to retreat into cover. Many masterminds recruit a military ally before a vault run, since the role's high firepower buys the Cracker an extra 20–30 seconds to finish the safe before the breach begins.