
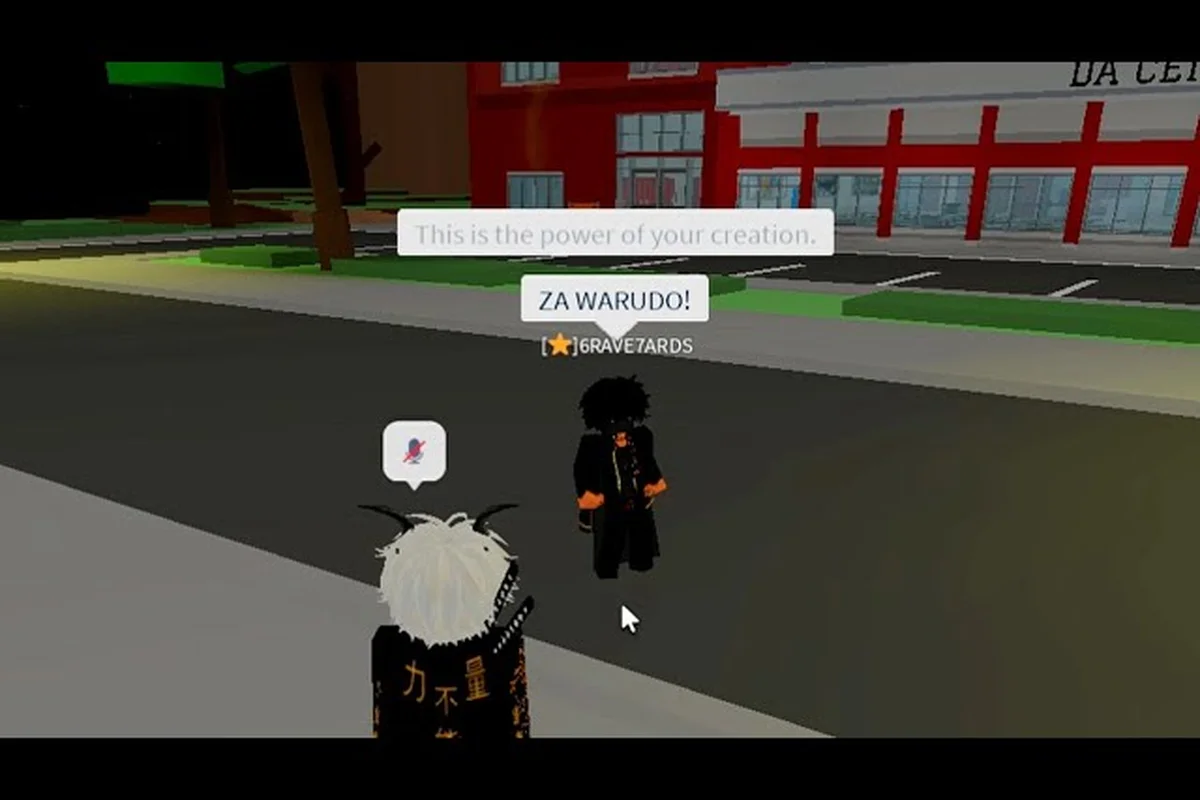
Da Hood teleport spots have become urban legend across the Roblox community, with players trading clips of impossible jumps, wall-phasing clips, and clip-through rooftops on every major block. The Da Hood map layout hides more seams than any casual player realizes, and the spaces between buildings, alleys, and rooftops hold glitched routes that veterans use to flank, escape, or simply flex. This guide breaks down where players report working teleport-adjacent glitches, what the current Da Hood map size looks like, and how to start chaining your own routes without losing your hard-earned cash.
Understanding the Da Hood Map Layout and Where the Bank Sits
Before chasing teleport-adjacent clips, you need a clean mental model of the Da Hood map size and the landmarks that frame it. The map is a mid-sized urban sprawl split into roughly five named blocks, connected by main streets, alleyways, and a raised highway loop that runs along the outer edge. Knowing where each block ends is the first step toward spotting invisible boundaries and suspicious hitboxes.
Core Block Breakdown
| Block | Primary Landmarks | Player Traffic | Notable Edges |
|---|---|---|---|
| Bank Block | Bank, ATM row, Police Station, Basketball Court | High — the bank is the #1 robbery target | Rooftop accessible, alley behind bank has a thin hitbox gap |
| Uphill / Projects | School, Hospital, Projects housing, Basketball Court | Medium — frequent gunfights | Raised terrain creates ledges players can wedge onto |
| Strip / Club Block | Club, Taco Shop, Burger Shop, Jewelry Store, Sewer entrance | High during evenings | Flat layout with multiple awning clips |
| Downtown / Gym Block | Gym, Gun Store, Furniture Store, multiple shops | Medium — commerce zone | Rooftop parkour chain runs across three buildings |
| Suburbs / School Edge | School, residential houses, parking lots | Low — chill zone | Fence boundaries are thinner than they look |
The bank sits on the southwest corner of the Bank Block, right next to the Police Station and a basketball court that doubles as a meeting spot. Players who ask "where is the bank in Da Hood" are usually pointed to the front entrance facing the main road, but the back alley has a side door, a basement vent, and several seams that veteran glitchers use as phase points.
Da Hood map size in player terms covers roughly a 4,000 × 4,000 stud square, with the playable city filling about 60% of that area. The rest of the space is skybox, out-of-bounds terrain, and the invisible kill-wall that boots you back to the spawn if you fly too high or stray too far from the streets. Understanding the actual playable envelope helps you predict where teleport clips send you.
Glitch Spots and Invisible Wall Mechanics
Da Hood glitch spots work because of how Roblox handles character colliders versus map colliders. Most clips rely on a thin seam between two building pieces, a ramp that doesn't fully merge into the sidewalk, or a wall mesh that has a one-stud gap at its base. When your character hits that gap at the right speed and angle, the engine briefly treats you as outside the playable space — and that brief window is what teleport clips exploit.
How Glitch Spots Actually Function
| Glitch Type | Trigger | Result | Risk Level |
|---|---|---|---|
| Wall Phase | Sprint + jump at a 30–45° angle into a thin seam | Character clips through wall, often to the other side | High — fall damage and void kills |
| Rooftop Boost | Jump on a dumpster / awning / car with momentum | Boosted onto roof without a ladder | Medium — visible to other players |
| OOB Clip | Run along an out-of-bounds edge at full sprint | Bypass kill-wall briefly, access hidden geometry | High — instant respawn if caught |
| Object Sink | Crouch + interact with specific props | Sink below floor, exit through basement | Medium — requires precise timing |
Da Hood invisible walls are not labeled on any HUD — the engine handles them as kill-boxes or jump-triggers. When you sprint toward one, the wall pushes you back without an obvious collision sound, which is why new players often feel like they are being "soft-blocked" by nothing. Experienced players read these as soft hints that a teleport clip might exist nearby, because the kill-box is often placed slightly off-grid from the actual map geometry.
One of the most reliable patterns in player reports is the dumpster-to-rooftop boost behind the bank. You sprint toward the dumpster, jump at the corner, and let your momentum carry you up to the ledge above the back door. It looks impossible the first time, but the angled collision on the dumpster face acts as a ramp. The same trick works near the gym and behind the school gymnasium.
Parkour Spots Worth Chaining Into a Route
Da Hood parkour spots exist as both standalone tricks and as connectors between two teleport clips. The best players don't treat each glitch as a one-off — they chain three or four of them into a single traversal run that covers half the map in seconds. Once you know the order, the city starts to feel like a tiny playground rather than a sprawling warzone.
Parkour Chains by Block
| Chain | Starting Point | Ending Point | Difficulty | Approx. Time |
|---|---|---|---|---|
| Bank to Projects | Back alley dumpster | School rooftop | Easy | 30 seconds |
| Strip to Gym | Taco Shop awning | Gym roof access | Medium | 45 seconds |
| Bank to Club | Bank rooftop jump | Club side entrance | Hard | 60 seconds |
| Projects to Suburbs | School fence wedge | Residential roof | Easy | 25 seconds |
| Full City Loop | Bank block start | Strip end | Expert | 3 minutes |
The Bank to Projects chain is the most beginner-friendly route. You start by boosting off the dumpster behind the bank, land on the back ledge, jump across the alley onto the next building, and end up on the school's roof with a clean view of the Projects below. From that vantage point, you can see most of the south side of the map and pick your next move.
If you want a deeper reference for how each block connects, the Da Hood map guide breaks down every named street and intersection. Pair it with a session where you just walk the map and note every seam, awning, and dumpster, and you will start spotting new routes within an hour.
Teleport Clips, Risk, and Counter-Play
Not every reported Da Hood teleport spot actually moves you across the map — most clips send you 5–20 studs in a direction you cannot reach by walking. The term "teleport" is community shorthand for any movement that feels instant, even though the engine just resyncs your position after a short out-of-bounds frame. Knowing the difference between a true teleport and a boost saves you from chasing fakes.
Spot Authenticity Checklist
| Check | True Teleport | Boost Only | Visual Glitch |
|---|---|---|---|
| Position change | Sudden, >15 studs | Gradual, <15 studs | None — only visuals change |
| Other players see you | No, until you resync | Yes, normal | Yes, normal |
| Works after patch | Rarely | Often | Often |
| Risk of void kill | High | Low | None |
Players who share clips on community forums often add a clip timestamp and the exact frame rate, which makes verifying the spot easier. If a clip is real and not patched, the title on the post usually says "still working" with a recent date. Spots that have been patched tend to have a comment chain confirming the dev fixed it after the last update, so reading the comments under any guide is just as important as the guide itself.
For a wider view of safer places to land when you mess up a clip, the Da Hood best houses article covers the hiding spots that work even if your teleport fails and you need to reset. Most of those are second-floor interiors or roof corners where the kill-box is far enough away to let you breathe.
Safety, Patch Status, and Smart Play
Da Hood teleport spots are fun, but every clip carries a real cost if the engine catches you out of bounds. The most common punishments are an instant respawn, a temporary freeze that gives away your position, and in some cases a soft kick that logs you out of the server. If you are carrying cash, you lose it on death, which makes clip-chasing a high-risk play for a low-reward cosmetic flex.
Risk vs. Reward Snapshot
| Scenario | Cash on You | Clip Risk | Recommended? |
|---|---|---|---|
| Empty inventory, exploring | $0 | Medium | Yes — good learning practice |
| Mid robbery, cash stack | $5,000+ | High | No — bank the money first |
| Active gunfight | Variable | Very high | No — focus on the fight |
| Crew run with backup | Variable | Medium | Yes if your crew can revive |
The community-driven Roblox game page for Da Hood posts patch notes every few weeks, and most of those notes call out which glitch spots have been fixed. Reading those notes before a long clip run is the single best way to avoid wasting time on a route that no longer works. Glitches that survive multiple patches tend to involve specific prop placements that the dev team has not had time to audit, so they sit quietly in the map for months at a time.
A second common-sense rule is to never clip while you are holding a bag of cash, a weapon drop, or anything another player might want. A failed clip teleports you to spawn, and whatever you dropped on the ground becomes a free pickup. If you want to clip while your crew is active, drop your valuables at a safe spot first, then go for the route.
Finally, do not chain clips back-to-back. Most clip triggers require your character to fully settle into a standing or crouching pose before they fire a second time, and chaining without settling will usually just give you a normal jump. Give each clip a one- to two-second pause, then move on.
Frequently Asked Questions
Are Da Hood teleport spots real or fake?
Most "teleport" clips are boost clips that move you 5–20 studs in a direction you cannot reach by walking, but a small number are genuine out-of-bounds clips that resync your position. Both are real and reproducible, though the true teleport clips are usually patched within a few weeks.
Where is the bank on the Da Hood map?
The bank sits on the southwest corner of the Bank Block, right next to the Police Station and a basketball court. The front entrance faces the main road, and the back alley has a side door plus several glitched seams used by experienced players.
How big is the Da Hood map?
The playable city covers roughly 60% of a 4,000 × 4,000 stud area. The rest of the envelope is skybox, out-of-bounds terrain, and the invisible kill-wall that respawns you if you go too high or too far from the streets.
Do glitch spots still work after updates?
About half of reported spots survive a single update, and roughly 20% survive a full month. Spots that rely on prop placement tend to last longer than spots that depend on wall geometry, because the dev team audits walls more often than loose props.
What is the safest parkour chain for beginners?
The Bank-to-Projects chain is the safest because every boost lands on a visible ledge and the fall distance is short. Start with that, then move to the Strip-to-Gym chain once you have the timing down.